NateHanson
Non-member
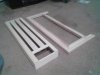
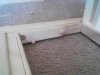
I'd trim 1" off the two mating sides, rather than 1/2" off all 4 edges. You won't need as much downward reflecting in the center as you need at the sides anyways.
I'd trim 1" off the two mating sides, rather than 1/2" off all 4 edges. You won't need as much downward reflecting in the center as you need at the sides anyways.
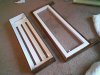
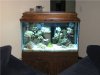
nice project.
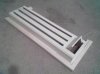
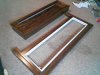
Here's a PC reflector link (but I agree, PC's stink)
http://www.marinedepot.com/aquarium...fluorescent_pfo_customsealife_diy.asp?CartId=
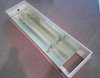
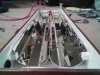
Nice craftsmanship.
I love the perfect reflections of the endcaps. My first thought was, "Wow. He managed to fit eight PC bulbs in that little canopy."
We use essential cookies to make this site work, and optional cookies to enhance your experience.